The method described here is suitable for the case when the same fax document should be sent to a large number of fax recipients.
1. Prepare a list of fax numbers any way you want and save it to a plain text file. When preparing a file, you must be guided by the following rules:
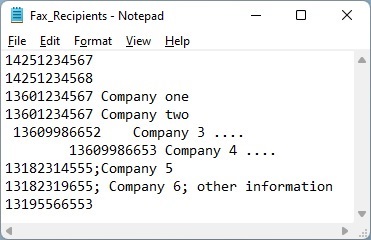
- Each row can contain a single fax number.
- The fax number should be placed in the beginning of the row. Spaces and tabs at the beginning of the row are ignored.
- The row can contain any additional information such as company name, phone number etc. This information should be separated from the fax number using any of the following delimiters: space, tab or semicolon.
An example of a text file is shown in the picture below.

2. Create a fax by printing to a Fax Voip Virtual Printer or by using the New Fax command in the Fax Voip T.38 Console.
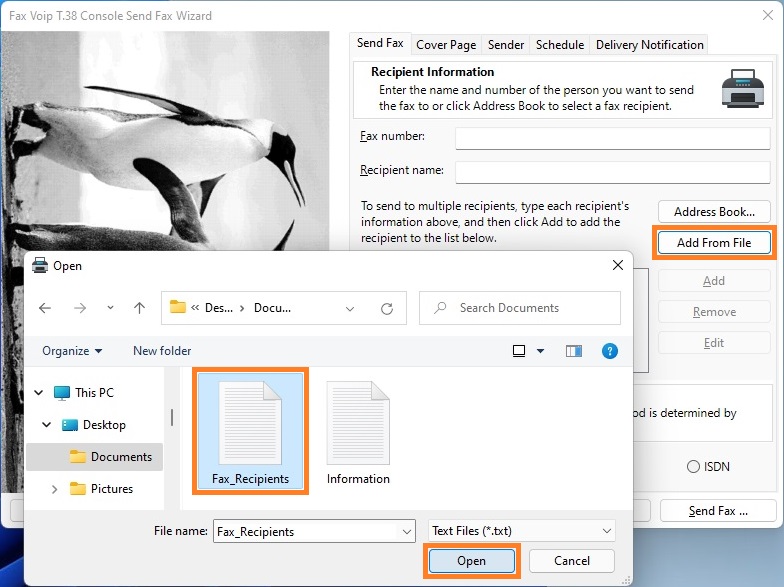
3. In the Fax Voip T.38 Console Send Fax Wizard window, on the Send Fax page, click Add From File.
4. In the Open dialog box select the text file and click Open.

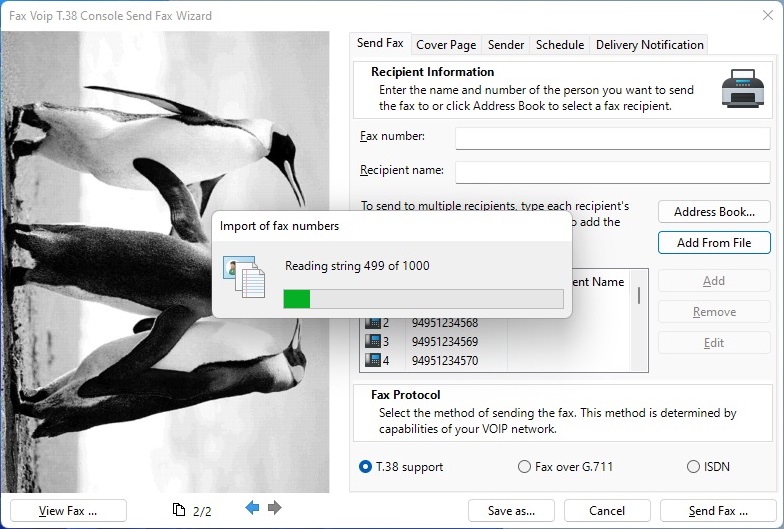
5. Fax Voip T.38 Console will automatically recognize fax numbers and will add them to the list.

6. In the Fax Voip T.38 Console Send Fax Wizard configure additional fax options if necessary. For details see in the Send a Fax with Fax Voip Virtual Printer chapter.
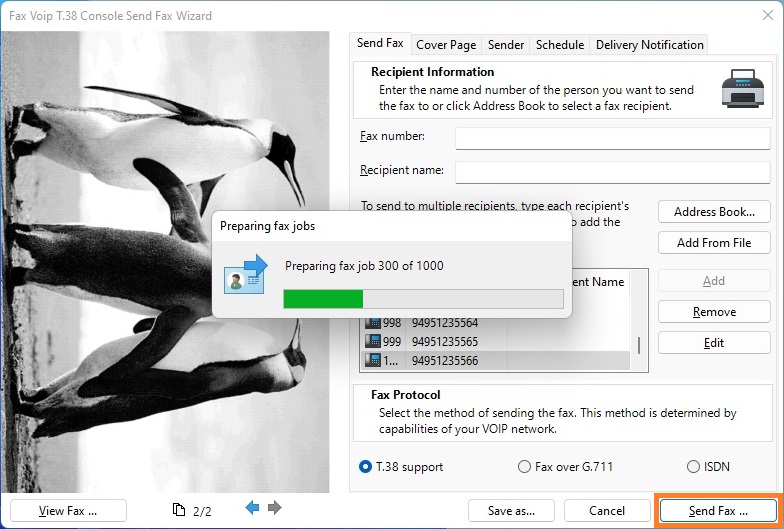
7. Click Send Fax.
Fax Voip T.38 Console will automatically create multiple fax jobs and place them into the Fax Voip T.38 Console.

Notes
- For some reason during the procedure of adding multiple fax jobs, Fax Voip T.38 Console can be not responsible within some time. When adding multiple fax jobs (for example 100 or more faxes), we strongly recommend to manually close Fax Voip T.38 Console application before you click Send Fax.
- When creating multiple fax jobs Fax Voip T.38 Console forcibly adds a 1 second delay in the Submission Time and Scheduled Time fields for each of the next job. This is done to allow easy sorting of fax jobs in the Fax Voip T.38 Console.
- Alternatively, to add multiple fax jobs you can use SendFax.exe command line tool.
- Also, you can add multiple fax recipients from Address Book (Windows Contacts) by using Address Book button on the Send Fax page.


